




How to Prepare Nails for Gel Extensions: A Step-by-Step Guide
Reading time: 6 minutes
Bad prep is the reason most sets lift. Not the gel, not the lamp, not the tips. The prep. Get the natural nail filed, cuticle-prepped, dehydrated, and primed correctly, and the gel has every reason to stay. Skip a step, and no product will save you.
Ireland has around 4,000 salons and spas generating roughly €540 million a year, with close to 600,000 client bookings happening every month. Retention is not just a technical issue. Clients whose sets last come back. Clients whose sets do not, go elsewhere. With an average Irish salon client aged 36.9, these are professionals expecting professional results. This guide covers every step of How To Prepare Nails For Gel Extensions.
Why Nail Prep Makes or Breaks Gel Extensions
Gel does not lift on a healthy, well-prepared nail. It lifts when moisture, oil, shine, or dead skin are still sitting on the nail plate when the product goes on. Every step in this process removes one of those problems. Miss one, and you are working against yourself before the tip even touches the nail.
Step 1: File the Natural Nail Short and Even Out the Shape
File the natural nails short and remove all of the free edge. Before anything else, you want a clean, even shape around the nail. An uneven natural nail creates an uneven base for the tip, and that affects both how the finished set looks and how long it lasts.
Use the soft side of your file at 180 grit to lightly matte the surface of the nail plate. You are not taking off layers here. You are just breaking the shine so the gel has something to grip.
Step 2: Cuticle Prep with the Right Bit

This step does more for retention than almost anything else. Your clients will never know it happened. You will see it in how long the set lasts.
Use a flat cone-shaped cuticle bit (like the Kohana Cuticle Bit No. 1) at around 10,000 RPM. Work from right to left on forward rotation. Keep the bit at roughly 30 degrees so the side of the bit is flat against the nail, not digging in. Repeat on every finger.
You are removing dead skin only. Gentle. Controlled. Hold that angle consistently and you will never catch live skin. Take your time with this. Rushed cuticle prep is the most common reason gel lifts at the proximal edge.
Once you are done, brush away the dust before moving on.
Step 3: Dehydrate the Nail Plate
Apply a nail dehydrator or cleaner across the nail plate. You can keep it just on the nail, or wipe across the surrounding skin too. Either is fine. What matters is that you are pulling out any leftover moisture or natural oils before the product goes on.
Do not skip this because the nails look clean. Natural oil is invisible. It is still there, and it is enough to cause problems.
Step 4: Choose and Fit the Tips
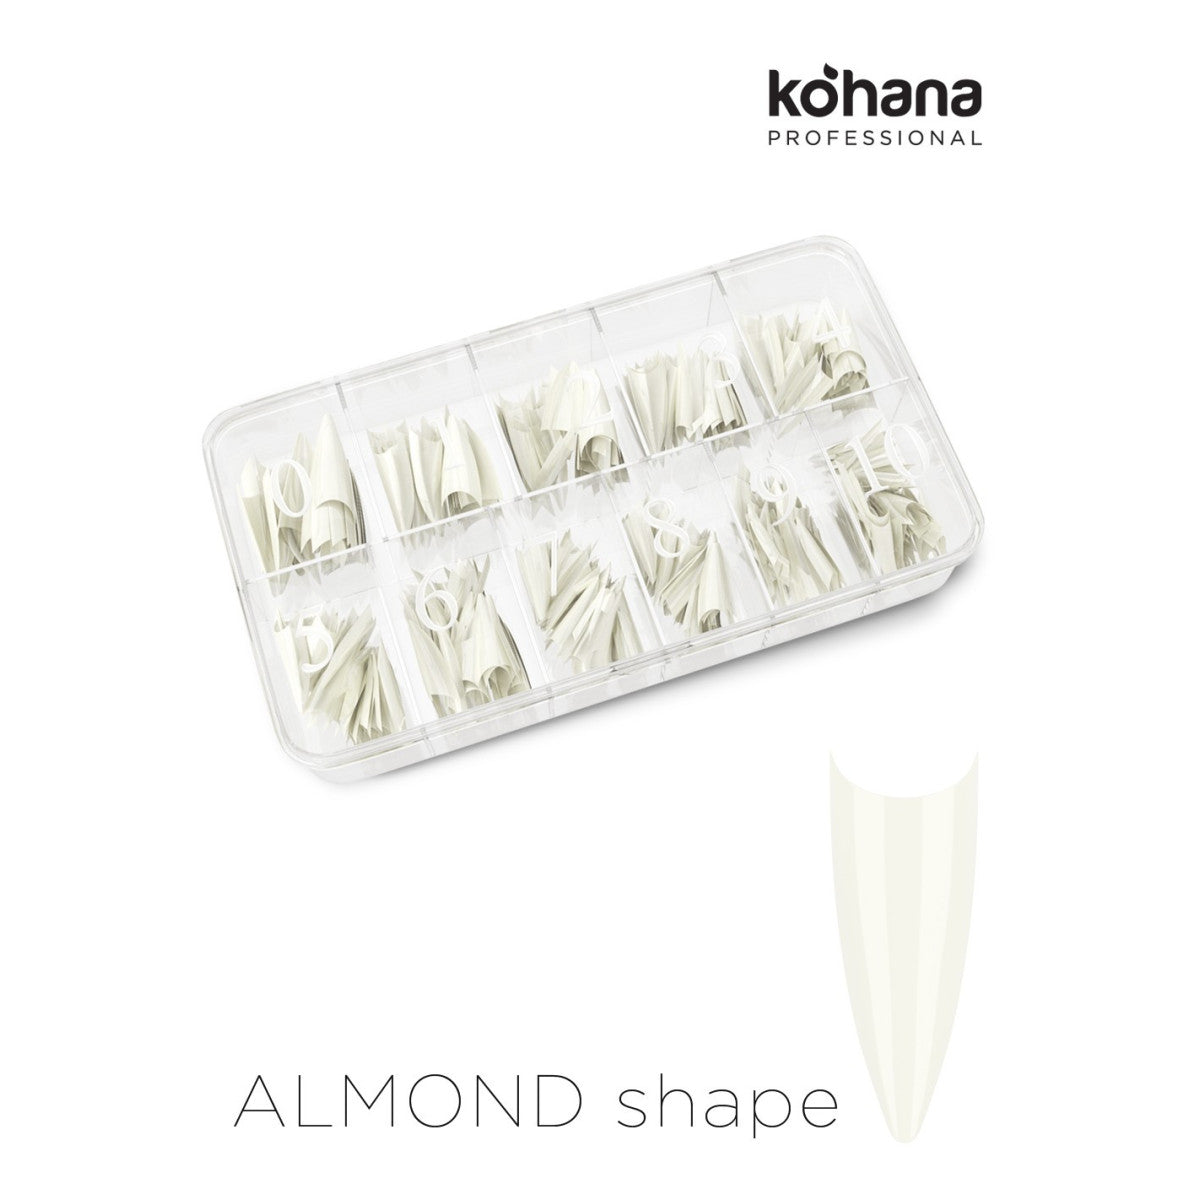
For oval and almond shapes, go with tips that are already pinched and have a C curve built in. They look better and save you shaping time later.
Sizing matters. Too big, and you are filing away a lot of material from the sides. Too small, and you get gaps at the edges that trap product and air.
These tips do not have a glue pocket, so apply a small bead directly to the tip. Around 1 to 2mm is enough. Place the tip gently, with light pressure.
If the tips are pre-pinched, do not press hard. Pressing flattens the curve and pushes the glue out. Firm, gentle hold. Wait about 10 seconds for the glue to set, then move to the next nail.
Step 5: Cut to Length and Blend the Tips
Once the tips are on, cut to the client's preferred length with a tip cutter. Clean, quick cut. Check the lengths across the hand afterward. Sometimes proportional looks better than mathematically even, especially if the index finger is naturally shorter.
File the sides first. Then matte the surface of the tip and blend it into the natural nail. Every shiny spot needs to go. If light bounces off any part of that tip, go back with the file. Shine on the tip means the gel will not bond to it.
Step 6: Shape the Extension
For oval, angle your file underneath the tip and work left to right to round off the corners. Once the shape starts changing, bring the file to the sides to narrow it down.
For almond, file from underneath on top of the tip first to get it narrower, then work both sides to bring the highest point to the centre. Check as you go. The shape moves fast once the angle is right.
Step 7: Apply Primer
Primer goes on the natural nail only. Keep it off the tip.
Match the primer to the nail type. Oily nails need acid primer. Regular nail types take acid-free. Using the wrong one is a small thing that quietly costs you retention.
Step 8: Apply Pro Base and Cure
After primer, brush a thin layer of pro base into the nail plate. Take a small amount from the bottle, swap to your gel brush, and work it in. The natural nail is where this matters. If there is a little too much, you can stretch it gently onto the tip, but the tip is not the focus.
Cure for one minute in your lamp.
That is the prep done. Your nails are ready for gel application.
Common Prep Mistakes to Avoid
Leaving Any Shine on the Tip
The whole surface of the tip must be matte. No exceptions. If any part of the tip catches the light, it has not been filed enough. Gel cannot bond to shine. Go back over it before product goes on.
Pressing Too Hard on Pre-Pinched Tips
The C curve is part of what makes these tips look natural. Press too hard when fitting, and you flatten it. You also push the glue out from underneath. Gentle pressure, hold steady, let the glue dry.
Rushing Through the Cuticle Area
Most lifting starts here. A thin line of dead skin at the proximal edge is enough to cause the gel to come away from the base. The Kohana Cuticle Bit No. 1 is designed for this exact area. Use it at the correct angle, take your time, and your retention will improve straight away.
Skipping the Dehydration Step
Oil sits on the nail plate all day. Even after washing, there is residual moisture on the surface. Dehydrate every nail, every time.
Getting Primer on the Tip
Primer belongs on the natural nail. On the plastic tip, it can compromise the surface and create adhesion problems when the gel goes on. Keep it precise.
Products Used in This Process
- Kohana Cuticle Bit No. 1 (flat cone shape)
- Nail file, soft side, 180 grit
- Tip cutter
- Pre-pinched tips (oval or almond shape)
- Nail tip glue
- Nail dehydrator/cleaner
- Acid-free primer (or acid primer for oily nail types)
- Pro Base
Frequently Asked Questions
How Long Does Nail Prep Take for Gel Extensions?
With a solid routine, both hands take around 20 to 30 minutes. It gets quicker as the steps become automatic. Do not rush it to save time. Cutting prep short costs you the set.
Do I Need Acid or Acid-Free Primer?
Depends on the nail. Oily nails need acid primer for the product to bond properly. Regular nail types work fine with acid-free. If you are not sure, start with acid-free.
Why Does My Gel Keep Lifting at the Edges?
Nine times out of ten, it is prep. Shine left on the tip, dead skin at the cuticle, not enough dehydration, or glue pushed out when the tip was applied. Go through each step carefully and the lifting usually stops.
Can I Use Any Tips for Oval and Almond Shapes?
Technically yes. But pre-pinched tips with a built-in C curve give a better result with a lot less shaping. They look more natural too.
Are Kohana Products Safe for Professional Use?
All Kohana Professional products are HEMA free and TPO free. Formulated for professional use and safe for technicians and clients.
All Kohana Professional products are HEMA free and TPO free. Browse the full range at kohanaprofessional.ie.
Related posts

To use blooming gel, apply it uncured over a cured colour, drop fresh gel polish into it, and let the shade spread on its own before curing. That part takes seconds and looks effortless in every fifteen-second video you've seen.

Chrome nails come down to one sequence: base, colour, cure, a no-wipe layer, then chrome powder, rubbed in while that...

The single thing that makes gel nails last is prep. Not the brand, not the lamp, not the colour. Everything that determines whether your manicure holds for three weeks or lifts by day eight happens in the ten minutes before you open the bottle, in steps most people skip.

The two services generating the most consistent client demand in Ireland right now are gel polish and BIAB. If you build your starter kit around those two and nothing else, you have a full working service menu.

To remove gel nail paint, you need to file off the top coat, soak your nails in acetone, and gently push the softened gel away with a cuticle pusher. What most guides skip is why so many people end up with thin, weak, or peeling nails afterwards, and it almost never comes down to the gel itself.

The fastest way to make at-home gel nails last longer is to fix your prep and your product system, in that order. Most guides stop at prep. Prep matters. But it's not the whole problem.

Builder gel that lifts early almost always fails at prep, curing, or product compatibility. Not the gel itself. Every nail technician knows those three areas matter. What this guide covers is the specific part of each one that gets skipped, and why skipping it costs you the result even when everything else is right.

To do BIAB nails, you prep the natural nail, apply a base coat, build the apex using a bead of...

Gel nail lifting is one of the most common and costly problems in the nail industry. When reworks are done free of charge...

As a nail technician or salon owner, you are likely asked the same question by every second client who sits...
